Puto is a usual Filipino merienda (snack) enjoyed by kids and adults alike. This puto recipe can even be paired with the delicious dinuguan (pork blood soup) or pancit (noodles) as a replacement for pandesal (a Filipino bread).
A familiar snack to munch on, this steamed delicacy is usually found at dry markets, street food vendors, and malls.
Puto is a popular snack on occasions like birthdays, fiestas and other local gatherings.
Puto is traditionally white in color – the typical Filipino recipe uses rice flour or glutinous rice flour to get fermented flour by soaking rice with yeast overnight.
The rice is then ground to dough, mixed with a beaten egg, milk, and sugar, and steamed with banana leaves.
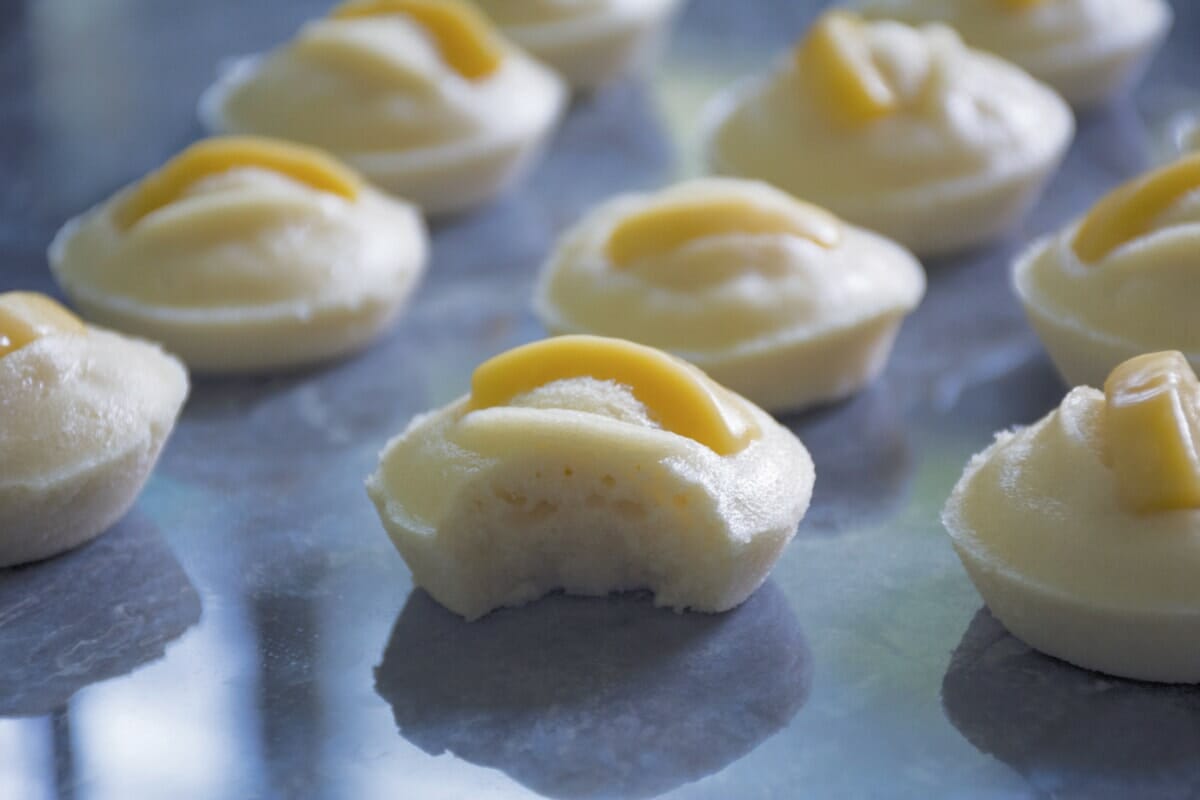
The leaves are used as a cupcake liner to make the dish smell more fragrant. There’s nothing like the taste of sweet freshly cooked rice thanks to the soft and moist texture.
This steamed Filipino snack pairs well with other sweet and savory dishes.
How to make puto
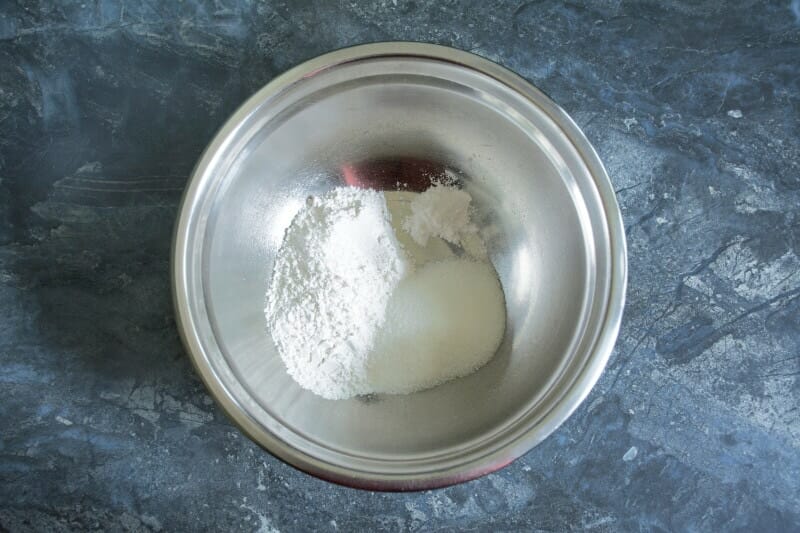
Step 1: Combine cake flour, sugar, and baking powder in a mixing bowl. Set this dry mixture aside.
Step 2: In a separate bowl, mix warm water, evaporated milk, butter, and egg white together.
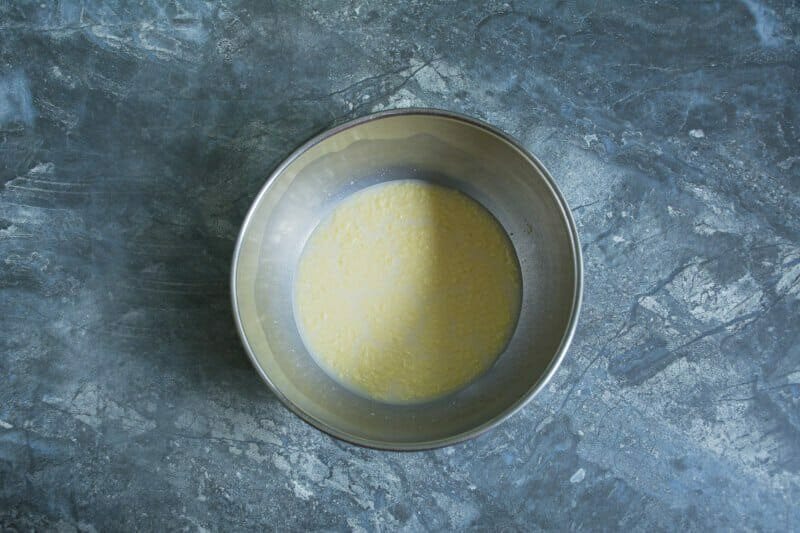
Step 3: Pour the wet mixture into the dry mixture, and beat until there are no lumps.

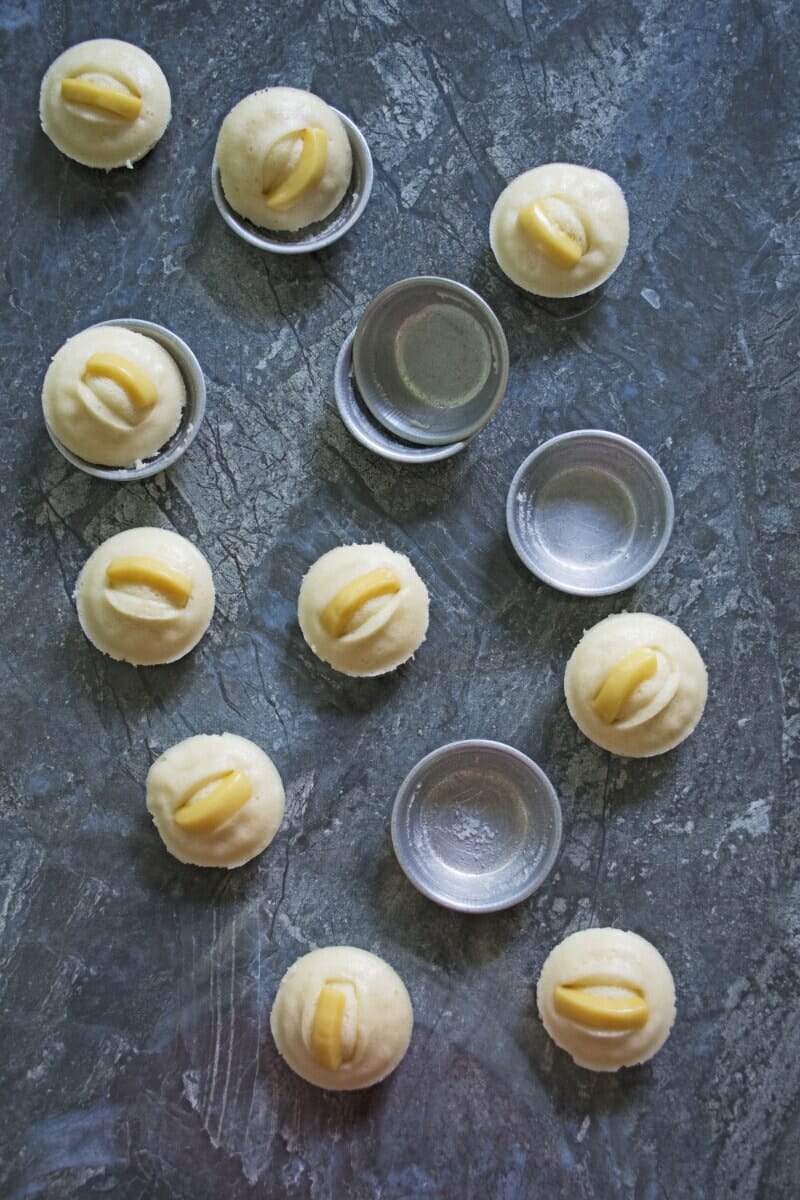
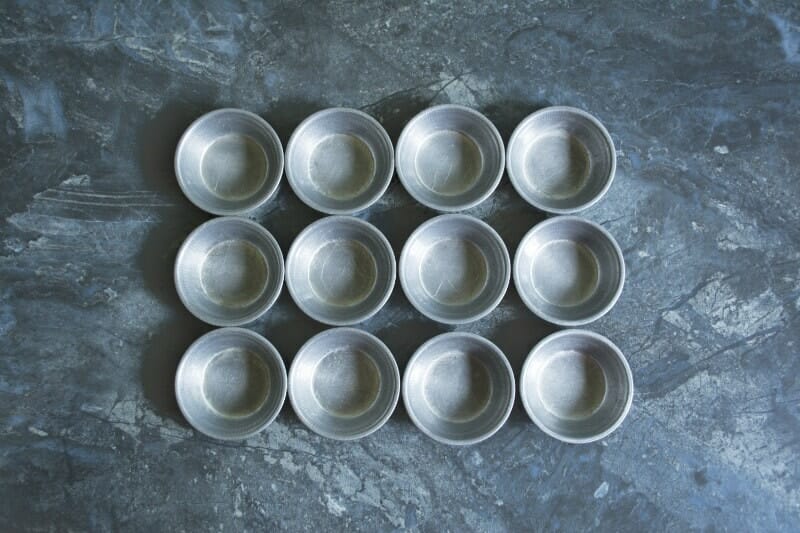
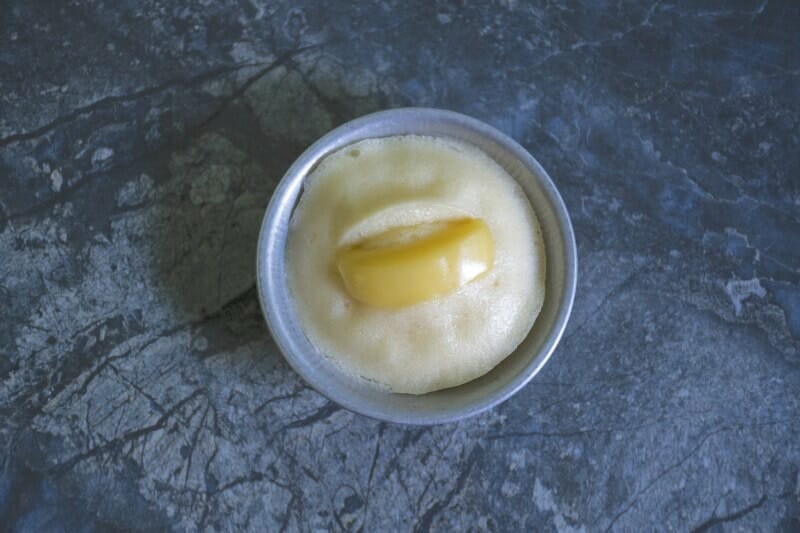
Step 4: Get the molds ready by greasing each one with butter.
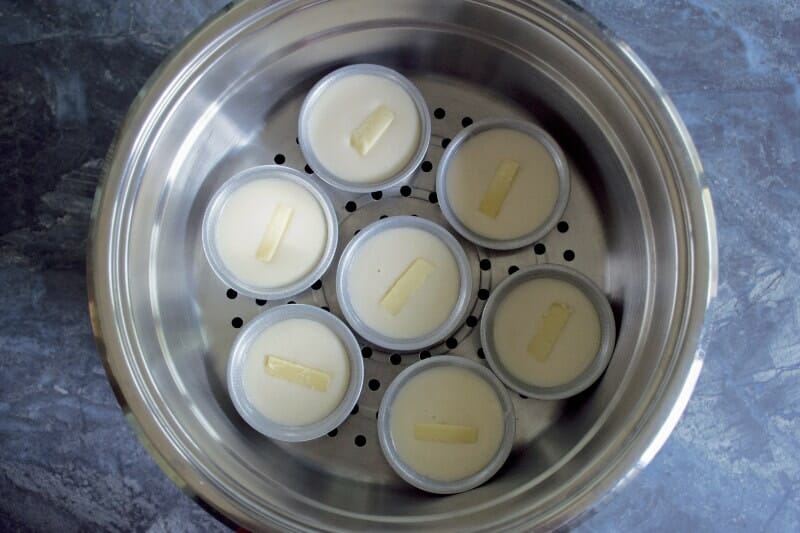
Step 5: Place a slice of cheese on top of each mold.

Step 6: Heat the steamer, ensuring the water is boiling before placing the puto molds inside.
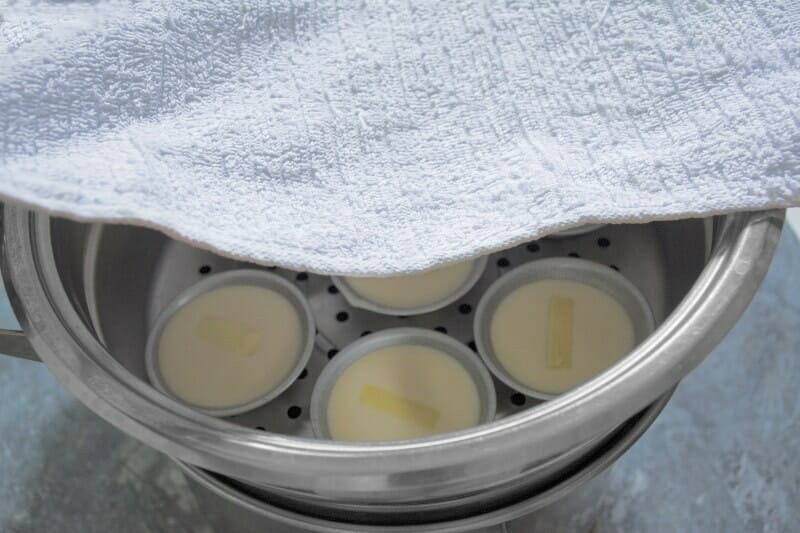
Step 7: Put a towel under the steamer lid to avoid water droplets falling on the batter. Steam for 8-11 minutes or until the puto rise.
Step 8: Allow the puto to cool for 5 minutes, then serve.
While traditional puto recipes use rice flour, homemade recipes usually rely on all-purpose flour or cake flour as it is readily available at home.
Toppings vary from Cheddar cheese, or salted egg but recently more modern flavors such as ube, leche flan, buko pandan and even chocolate find their way into this recipe.
These ingredients also add some color and fun to the typically white-colored puto dish. Some puto are even sold as a bigger version of the usual cheese version or in big rectangular cake sized chunks.
A familiar snack to munch on, this steamed delicacy is usually sold by street food vendors and in malls. A popular snack on birthdays and fiestas.

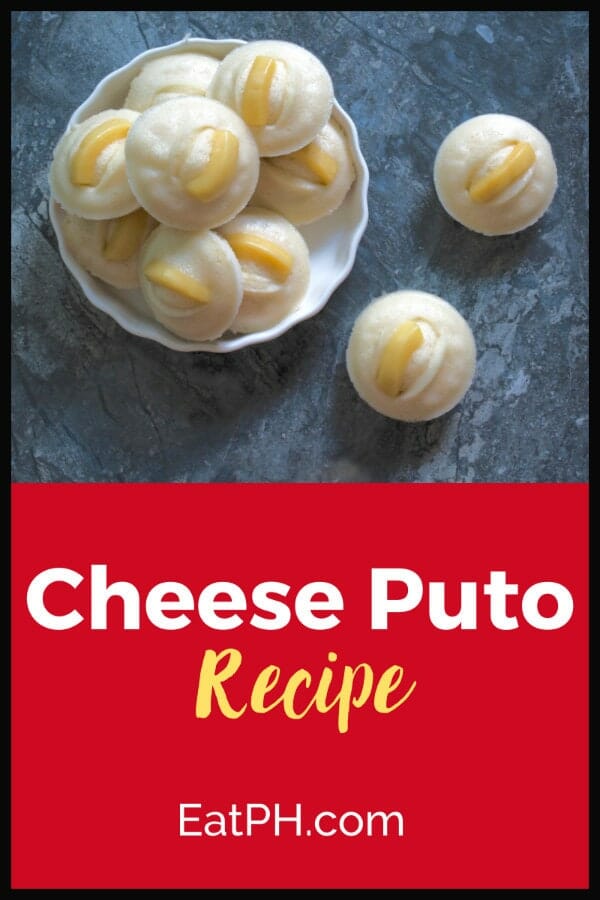
Filipino Steamed Cheese Puto Snack
Easy-to-make Cheese Puto Steamed Cake: Sweet, Fluffy & Tasty Mini Afternoon Treats.
Ingredients
- 1 cup all-purpose flour or cake flour
- 1/2 tablespoon baking powder
- 1/2 cup white sugar
- 1/4 cup warm water
- 4 tablespoons evaporated milk
- 1 tablespoon butter ( softened)
- 1 large egg (use only the egg whites)
- 12 slices of cheddar cheese
Instructions
- In a mixing bowl, mix all the dry ingredients: cake flour, sugar, and baking powder. Set aside.
- In another bowl, mix all the wet ingredients: warm water, evaporated milk, butter, egg white.
- Add the milk mixture to the flour mixture. Beating till mixture is void of any lumps.
- Prepare the molds. Grease each mold with butter before adding the batter.
- Add the cheese to the top.
- Prepare the steamer. The water should be boiling before adding the Puto molds.
- Place a towel before the steamer’s cover to prevent water droplets from hitting the batter. Steam for 8-11 minutes or until the batter rises.
- Cool for 5 minutes and serve.
Notes
- Equipment: Small muffin pans or puto molds, Steamer
- Some people like using Coconut milk or fresh milk to replace the evaporated milk.
- For a richer flavor, you can replace evaporated milk with condensed milk or fresh milk, and adjust the sugar content accordingly.
- For a more authentic Filipino rice cake, you can substitute all-purpose flour with rice flour or glutinous rice flour.
- To make puto using self-raising flour, simply omit the baking powder and use 1 cup of self-raising flour instead.
- You can add vanilla extract for more fragrance.
- If you like smoother toppings, add the puto cheese after 9 minutes of steaming. Add the cheese and steam for 2-3 more minutes.
- You can make a substitute steamer by using a pan or wok half-filled with water, place a cooling rack in the middle, place a baking pan or ceramic plate before placing the puto molds or muffin pan on top. Make sure that the water will not hit the mold. Cover with a towel before placing that pan’s cover. Steam for 8-11 minutes.
- If you don't have puto molds, you can use silicone molds or a muffin tin as alternatives.
- Store leftover Puto in airtight containers and microwave for a few seconds before serving.
- For a different variation, try the ube puto recipe by adding ube extract and ube halaya to the batter in step 2.
- Other toppings you might try include butter, margarine, desiccated coconut and leche flan.
- If you don't have a bamboo or electric steamer, you can use a rice cooker with a steaming tray to cook the puto.
Nutrition Information:
Yield:
12Serving Size:
1Amount Per Serving: Calories: 205Total Fat: 11gSaturated Fat: 6gTrans Fat: 0gUnsaturated Fat: 4gCholesterol: 47mgSodium: 263mgCarbohydrates: 18gFiber: 0gSugar: 9gProtein: 8g
This information is automatically calculated by third party software and is meant as a guideline only. This website is written and produced for informational purposes only. Statements within this site have not been evaluated or approved by the Food and Drug Administration