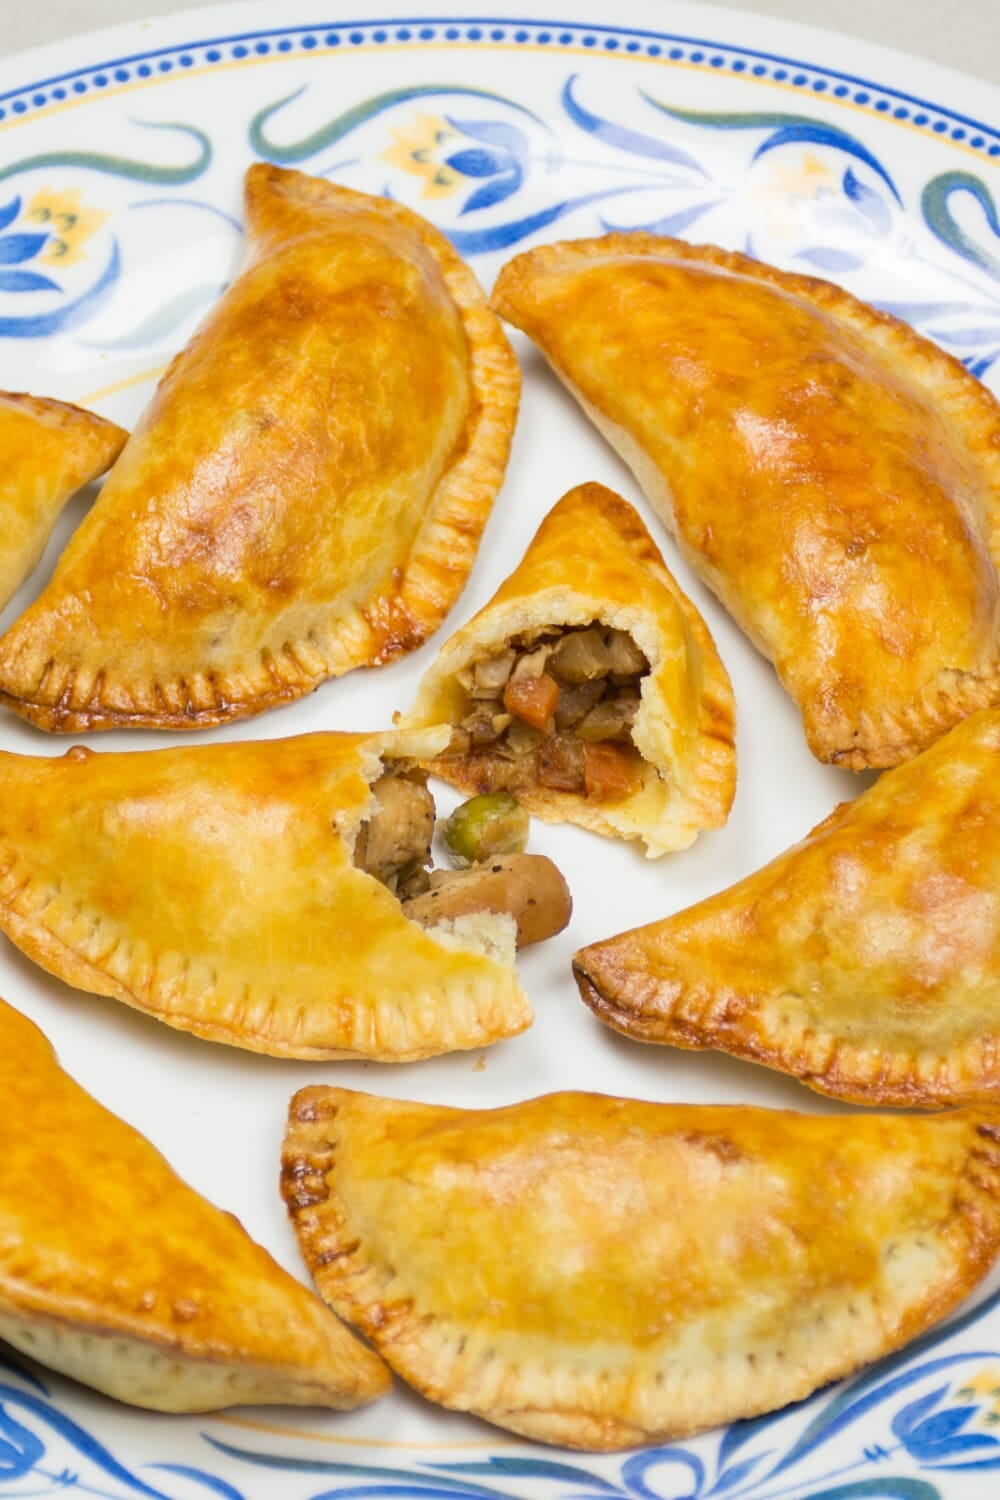
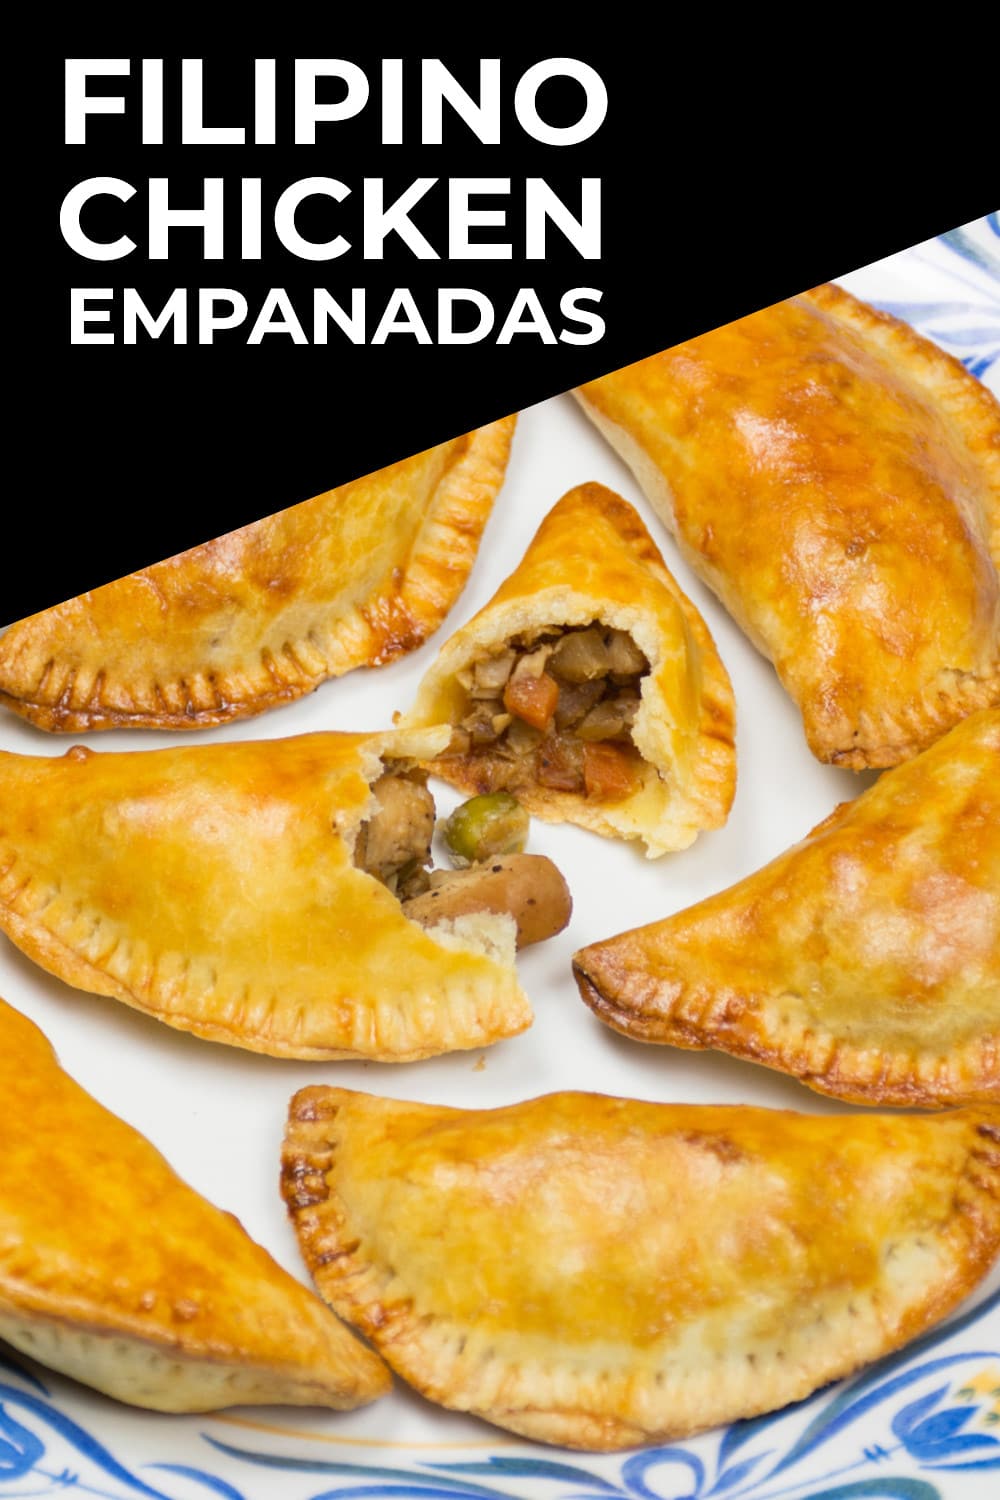
Empanadas are stuffed pastries filled with sweet or savory fillings. Similar to a turnover, these tasty pastry snacks are popular at street stalls, get-togethers and parties in the Philippines. Chicken empanadas are the perfect food for casual dining. Packed with cubed or shredded chicken thigh or breast, onions, carrots, potato, green peas, garlic, boiled in chicken stock for more flavor.
These pastry parcels are generally seasoned with soy sauce and sugar, and sometimes with spices like paprika and cumin. The cooled filling is then covered in a buttery shortcrust-like dough and folded into crescent-shaped bite-sized pieces. The seams are pinched to seal and the empanadas are coated with egg. Finally, they are fried (the traditional way) or baked till crisp with a beautiful golden brown shell. Got you drooling already?
Empanada Fillings
There are endless possible combinations of empanada fillings. Making fillings for empanadas is a popular way of using leftover scraps. Try, for example, rotisserie chicken mixed with caramelized onions and seasonings of your choice. These types of fillings help add more ‘taste’, as seasoned dishes are often better tasting the following day.
You can make and bake empanadas on the same day or ahead of time. To store them, line the unbaked pastries in an airtight container lined with parchment or Ziploc bag frozen till solid. Store up to 2 days in the fridge and 2 to 3 months if frozen.
On the streets of Manila and other Filipino cities, street stalls selling these delicious snacks offer an endless combination of sweet and savory fillings like creamy chicken mushroom, ham and cheese, spicy Jamaican beef, and even jam or Nutella!
The Latin Influence
The flavors and style of this food were influenced greatly by Spain, Portugal and Latin America.
The name was derived from the word empanar, loosely meaning “to cover in pasty” or “wrap in bread” in Spanish. Empanada recipes originally included fish like tuna and sardines, or meat, like chorizo, and were then adapted to suit Filipino tastes and the local availability or resources.

Empanadas in the Philippines also differ in texture, size, color, and taste from the original imported versions. Some are stuffed to the brim while others are well known for their texture of their crust. A famous example of this is the Ilocos empanada, with its iconic bright orange crust filled with grated cabbage, longganisa, onions, garlic, and eggs, all served with a side of spiced vinegar for dipping.
Depending on personal preference of recipes passed down from families, other ingredients such as raisins add sweetness, while other recipes include cheese or yoghurt to give a creamier texture.
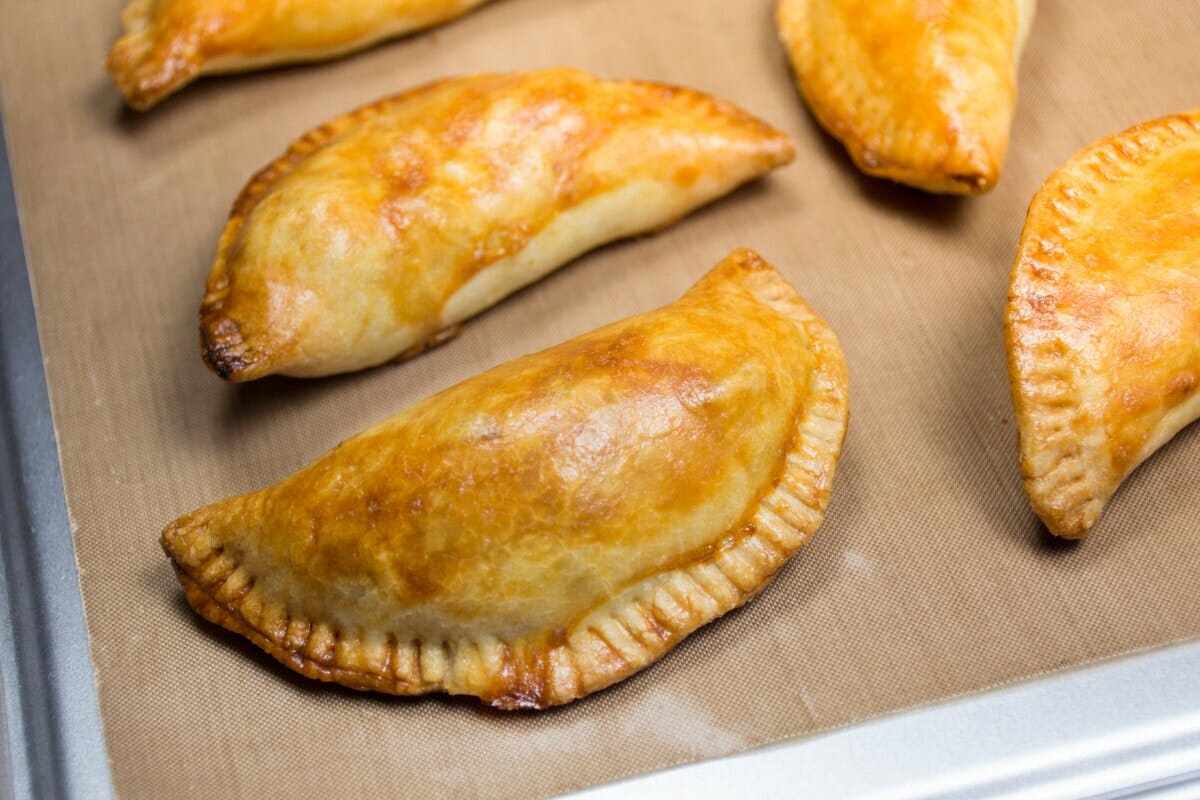
Baked Chicken Empanadas
Empanadas are stuffed pastries filled with sweet or savory fillings. The Filipino version of this Latin snack food has evolved to include a wide variety of fillings including meat, cheese, fruits, vegetables and even fish. These savory treats are pan-fried or baked until crisp and golden. Get the complete recipe with 18 step-by-step instructions
Ingredients
Filling
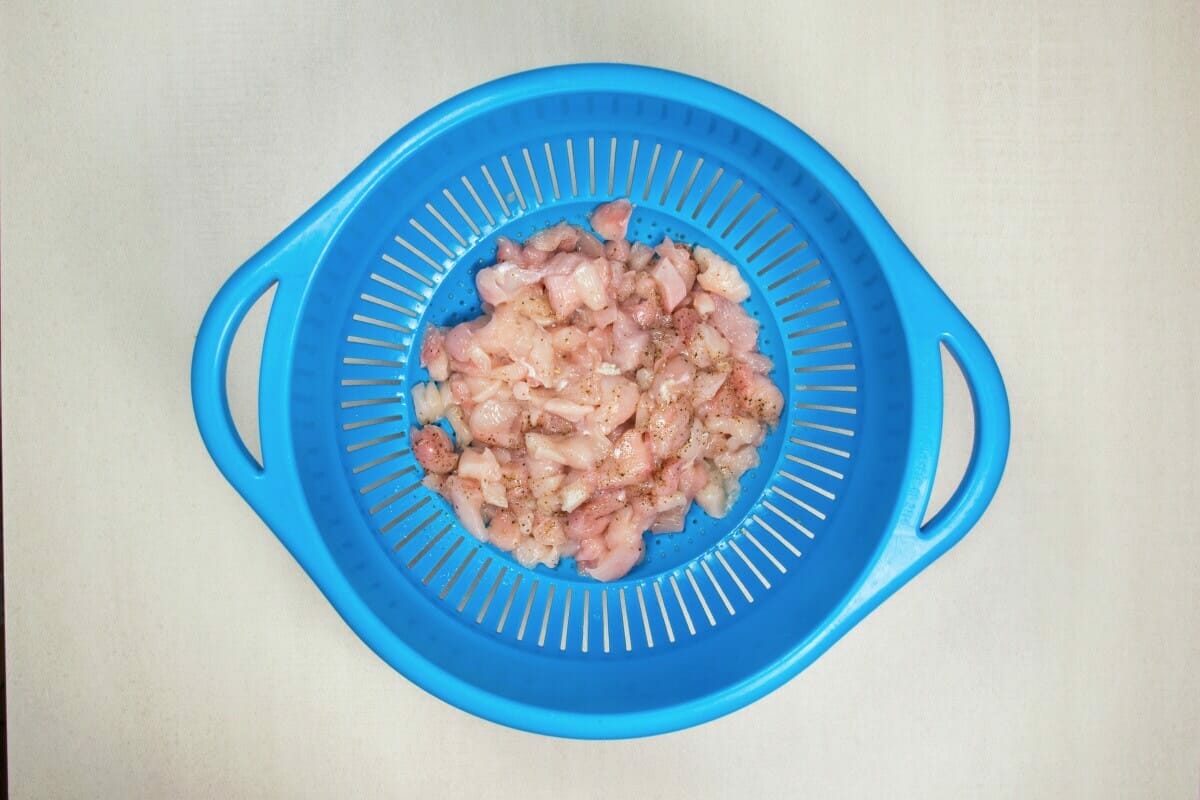
- 700grams Chicken breast (cubed)
- 1 teaspoon Salt
- 1 teaspoon Pepper
- 1 tablespoons Cooking Oil
- 1 Onion (chopped)
- 1 Carrot (chopped)
- 1 Potato (chopped)
- 2 tablespoons Garlic
- 1 to1/2 of a Knorr Chicken Cube
- 1/2 cup Water
- 2 tablespoon Soy sauce
- 2 teaspoon Sugar
- 1/2 cup Green Peas
Crust
- 3 cups All Purpose Flour
- 1/2 teaspoon Salt
- 1 cup Unsalted Butter (cubed)
- 1 Large Egg
- 3 to 4 tablespoons Cold Water
Egg Wash
- 1 large Egg
- 1 tablespoon Milk or Water
Instructions
Filling
- Clean and place the cubed chicken breasts and season with salt and pepper.
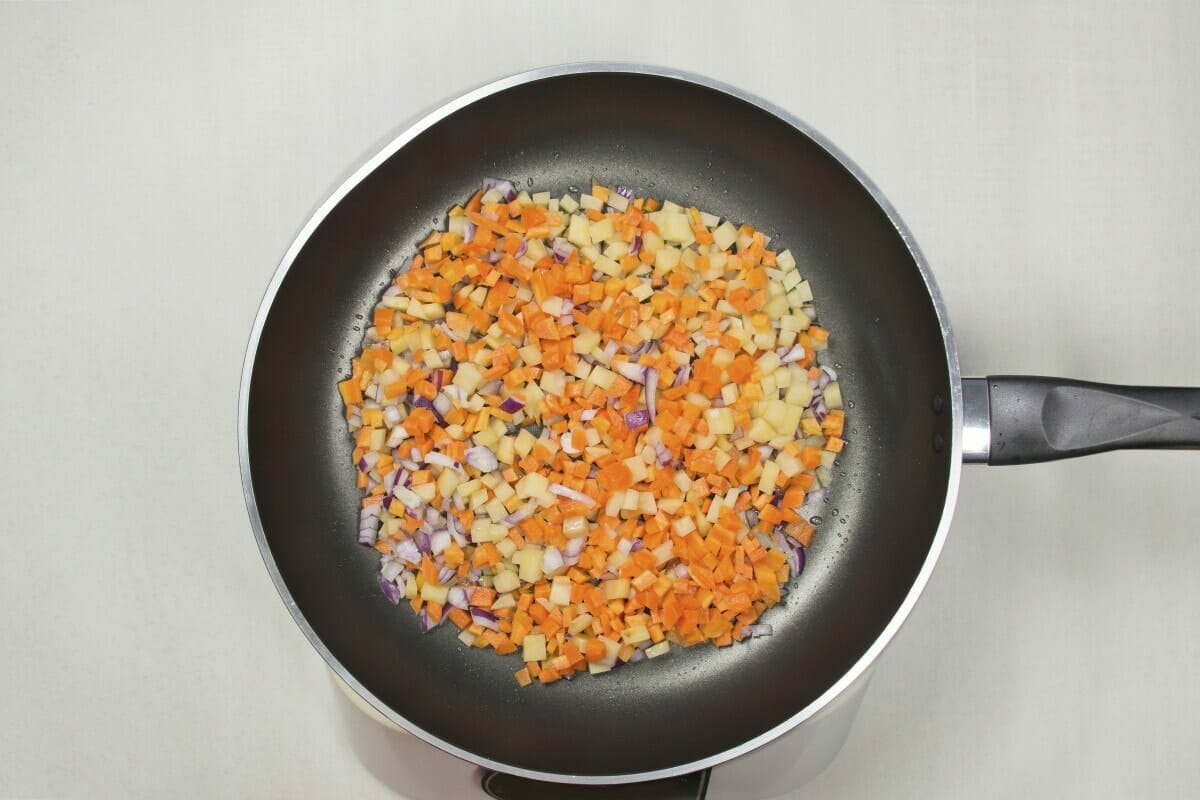
- In a pan at medium heat, place oil, onions, carrots and potatoes and sauté for 5 to 7 minutes or till potatoes have softened.
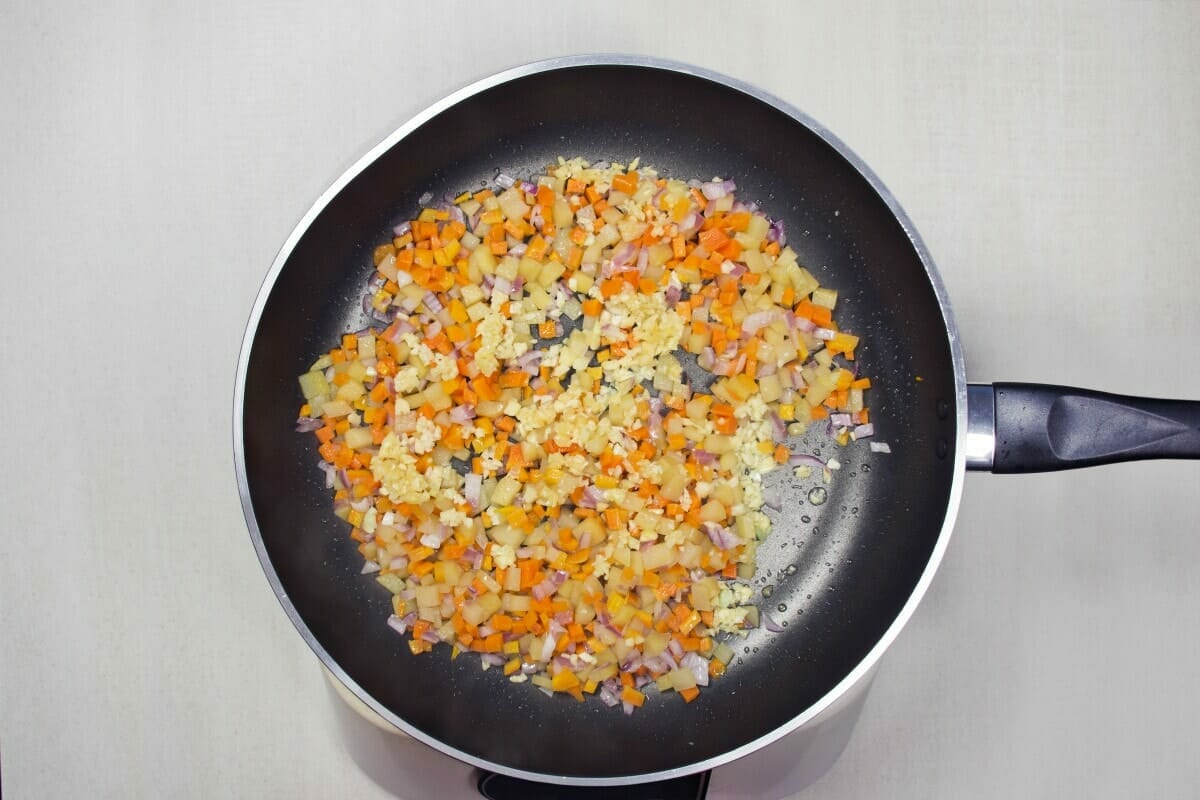
- Add the garlic and sauté till fragrant.
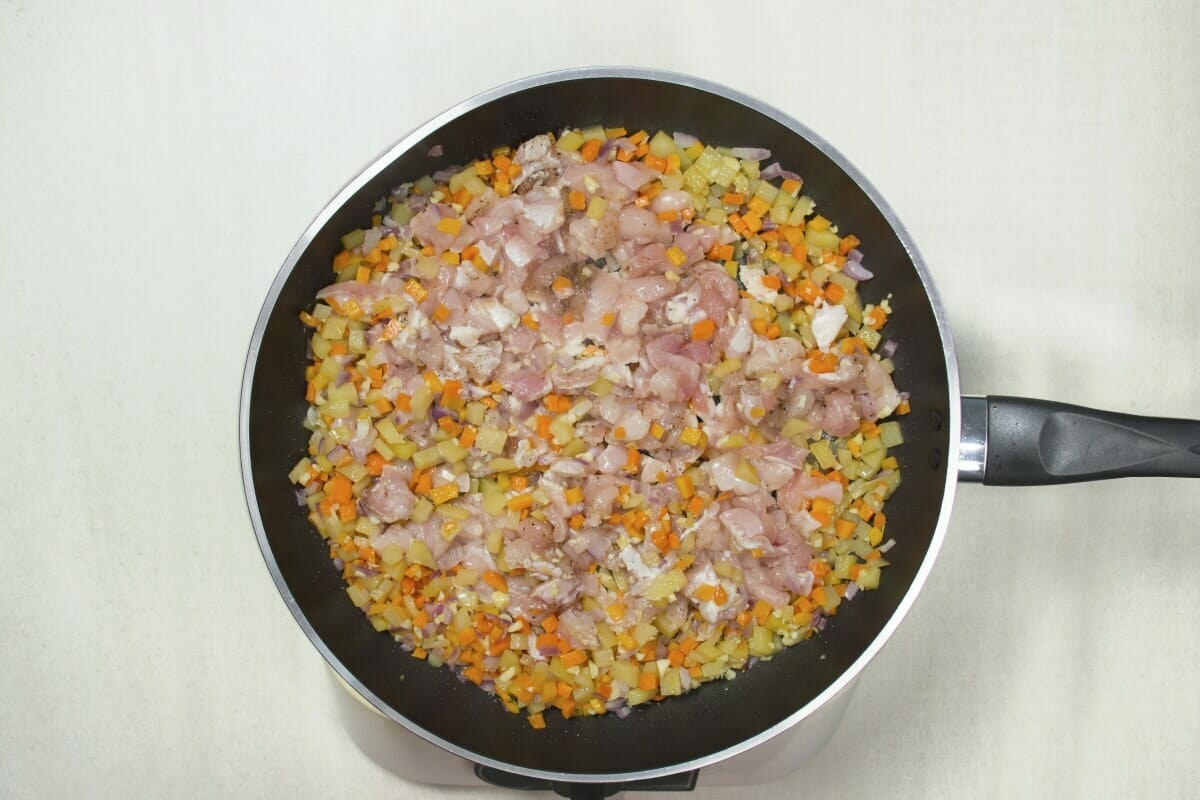
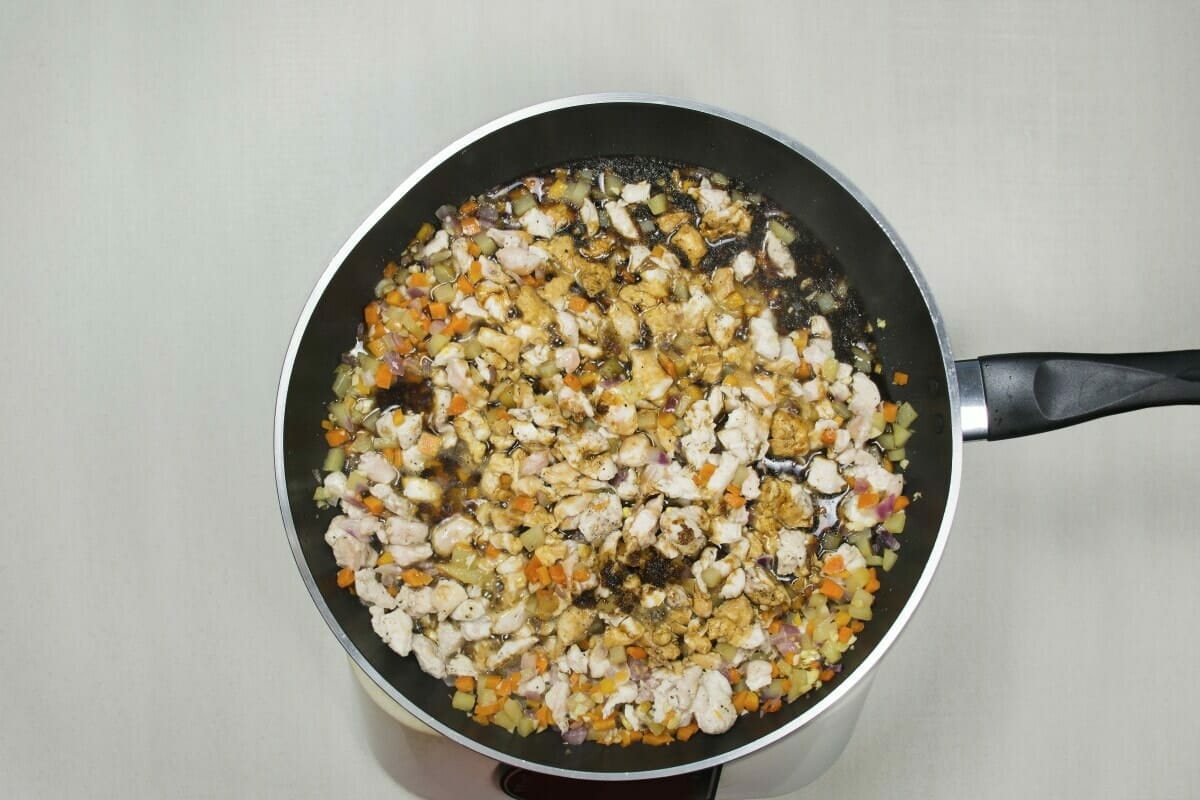
- Place the seasoned chicken in the pan. Flip till the chicken changes in color.
- Mix in soy sauce, sugar, Knorr cube and water. Let this boil and simmer for 5 to 7 minutes.
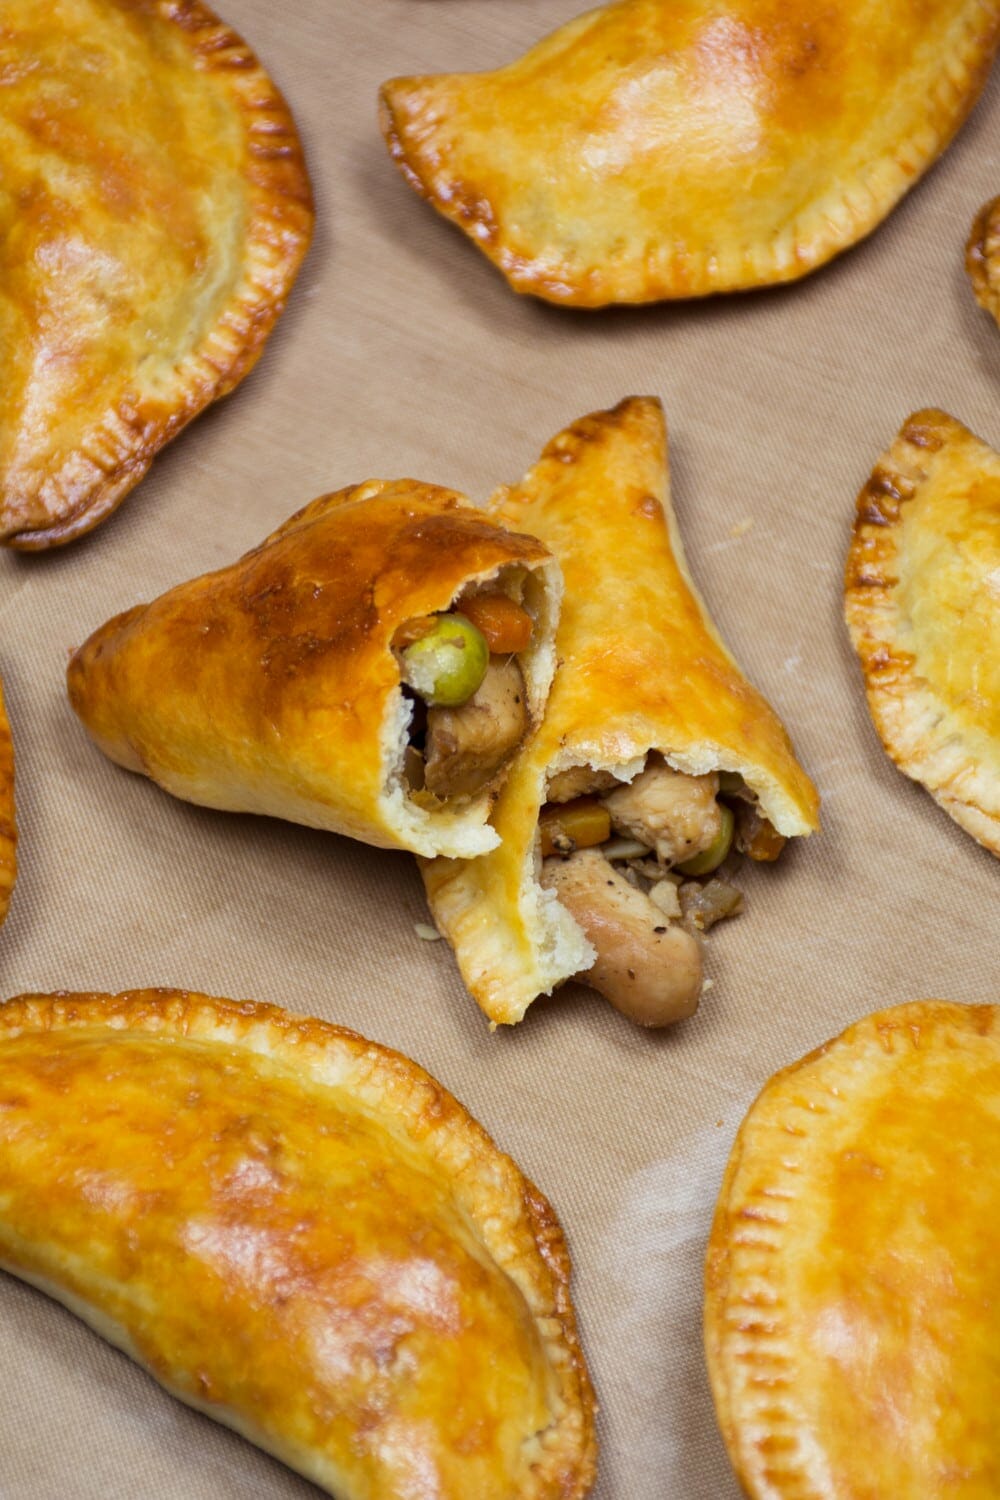
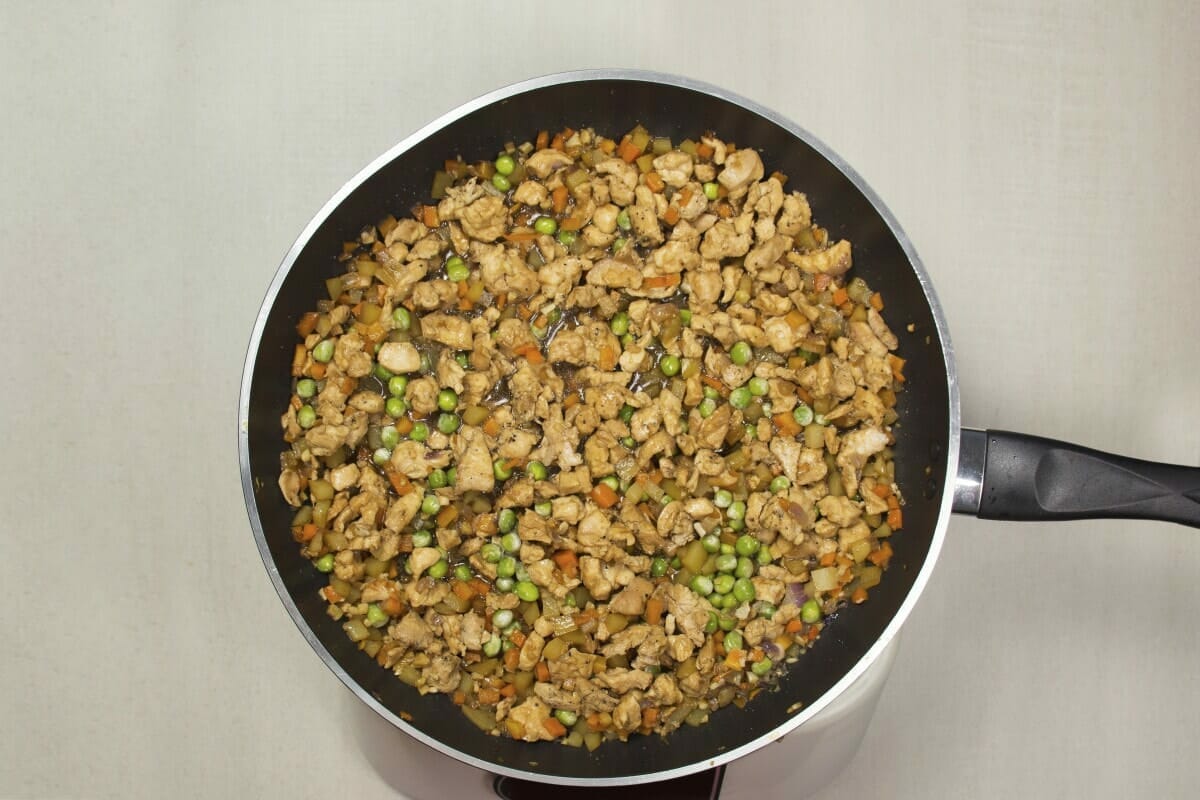
- Add the green peas and simmer for another 3 to 5 minutes. Set aside to cool.
Crust
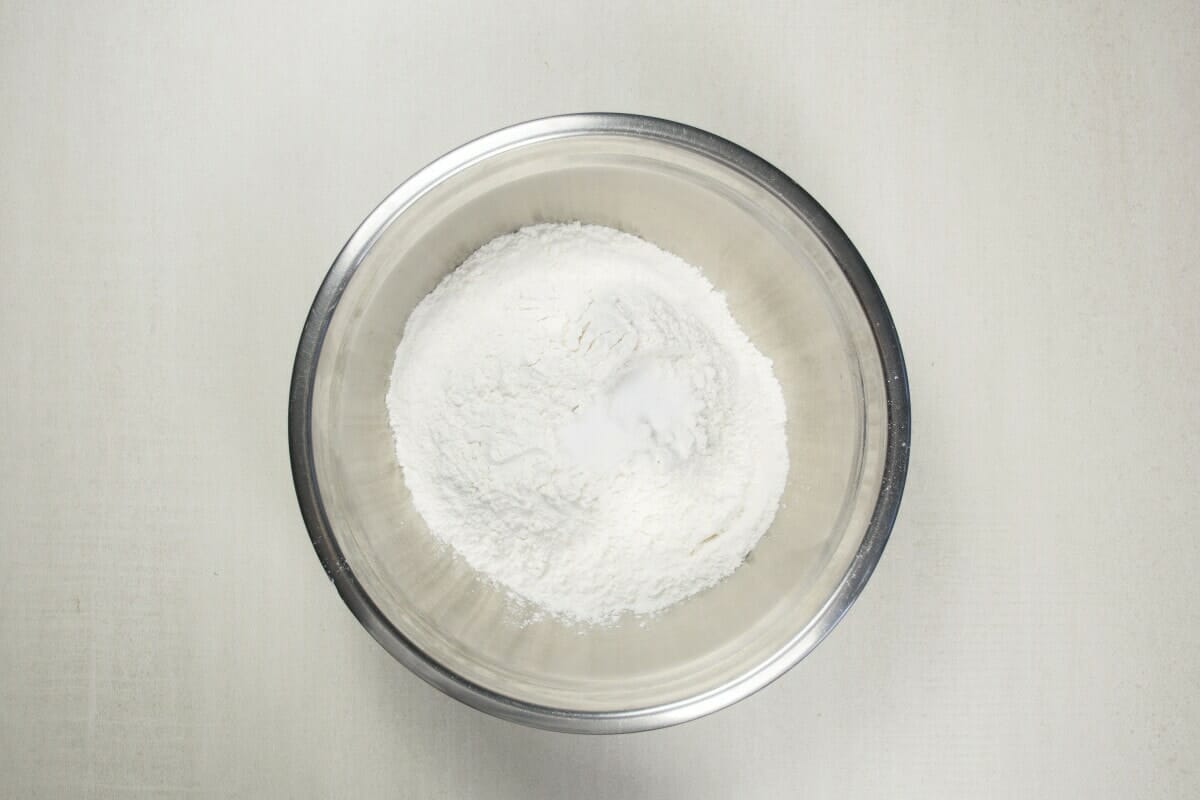
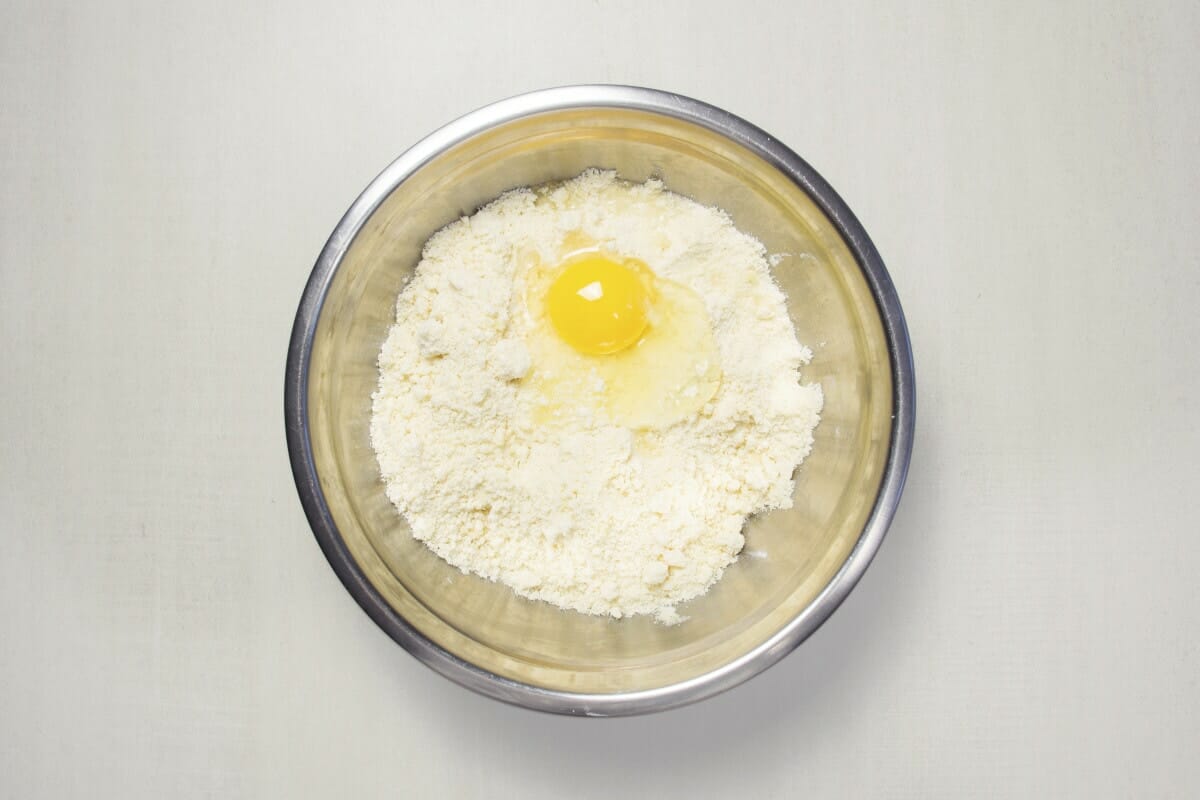
- In a bowl sift all-purpose flour and salt.
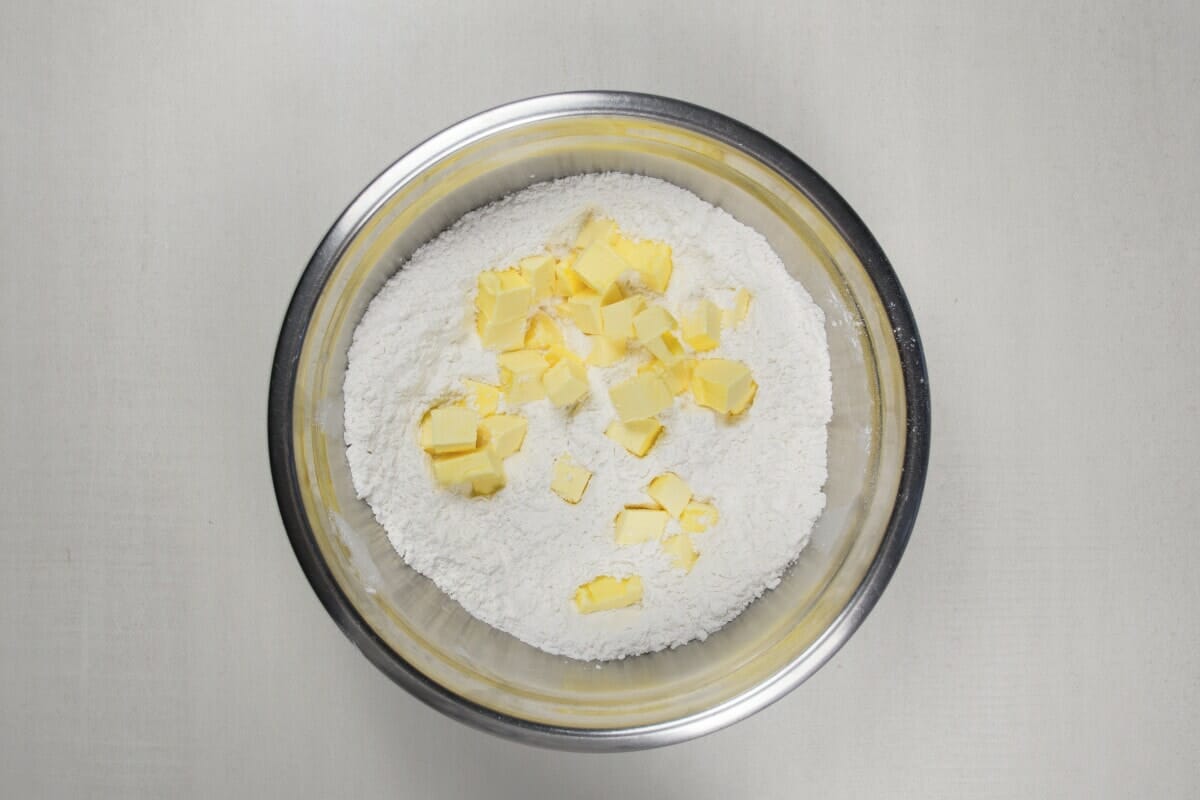
- Mix the cubed unsalted butter till the dough turns crumbly.
- Add an egg and mix well.
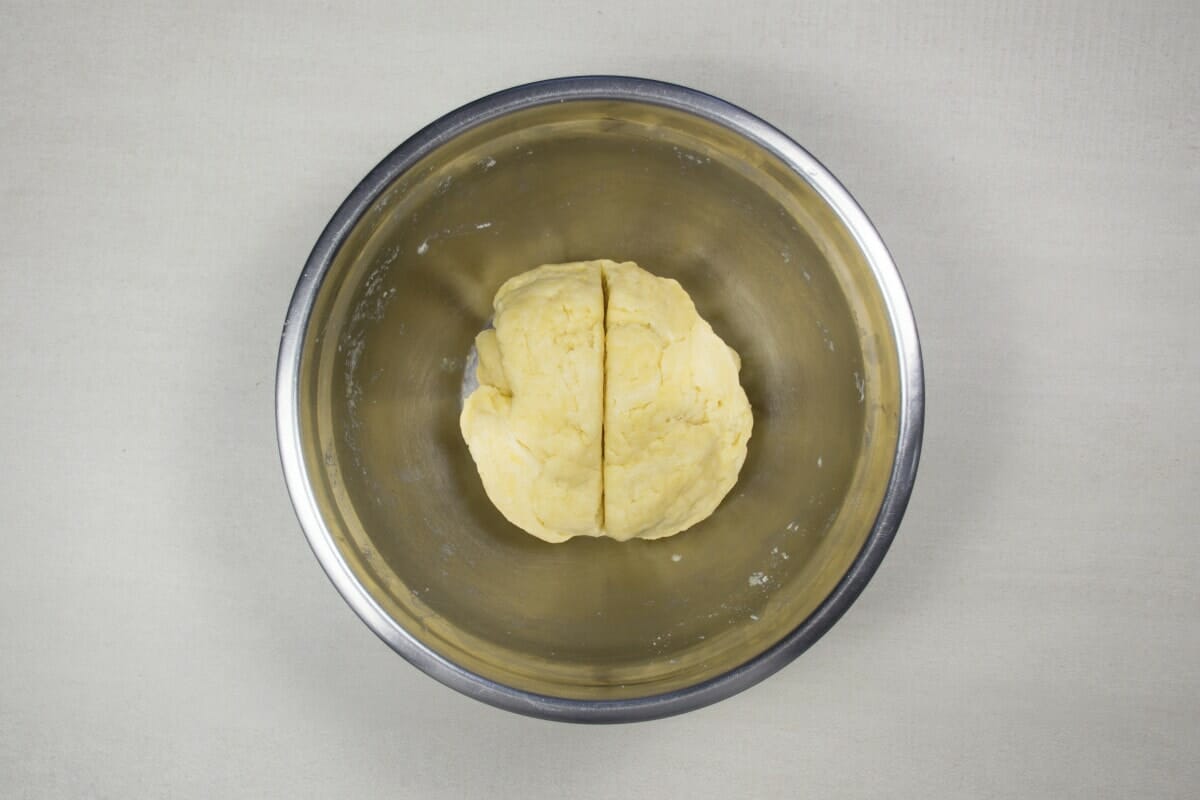
- Adding a tablespoon of cold water at a time till you get a smooth textured dough. Cut this in half to make it easier to roll.
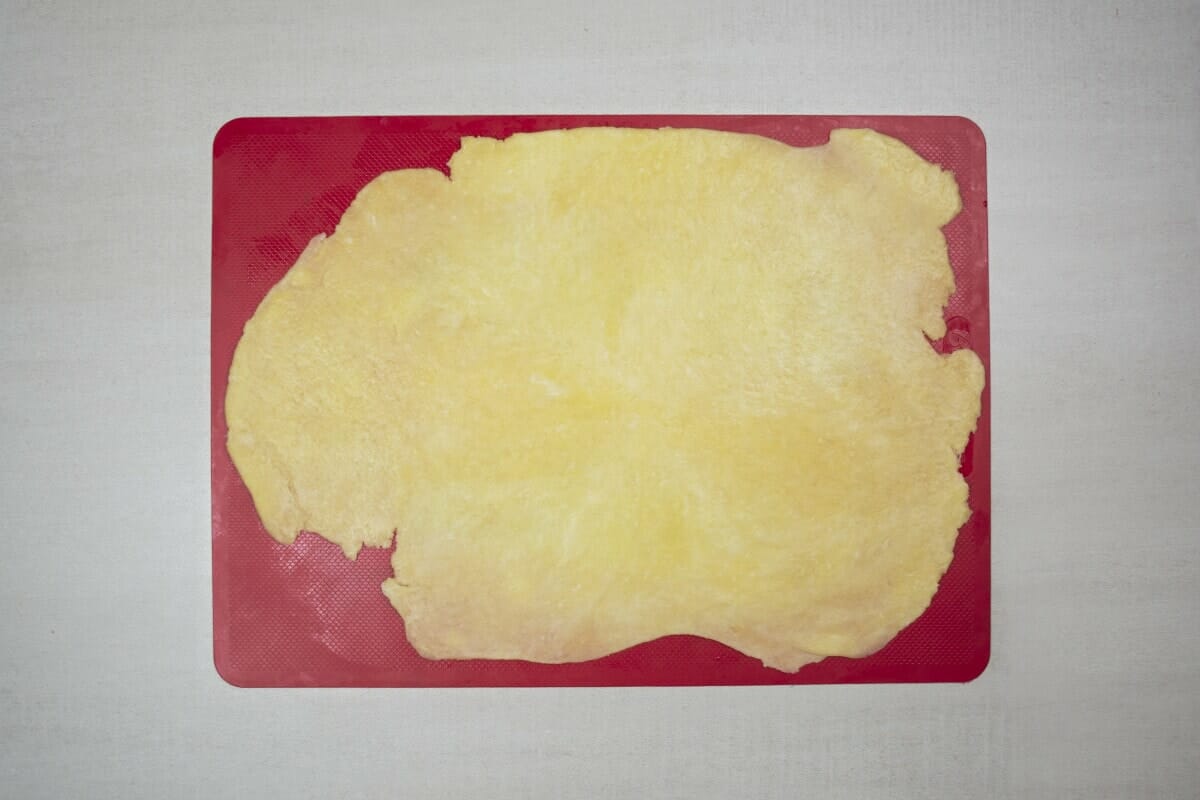
- Roll the dough into a thin sheet of around 1 cm in thickness.
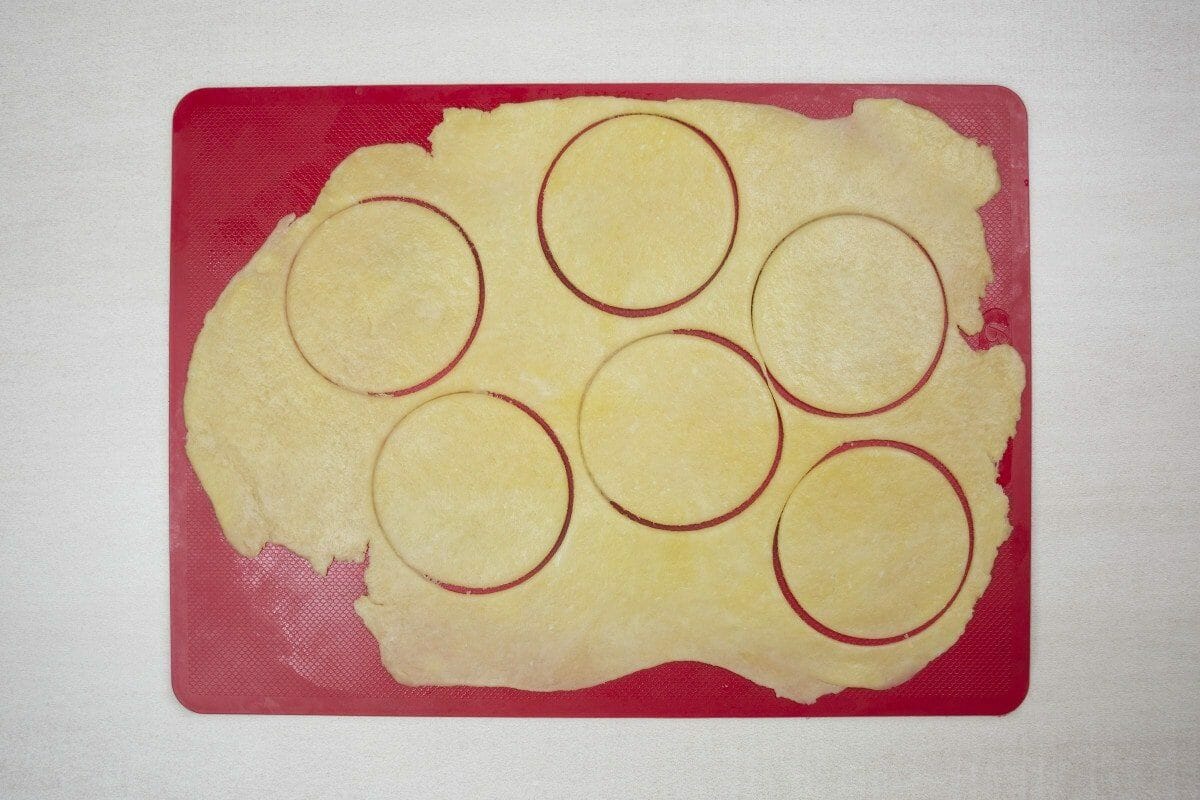
- Use a cookie cutter or the top of a cup to cut disk shapes in the dough.
- Spoon 1/2 to 1 tablespoon of filling on one side of the circle.

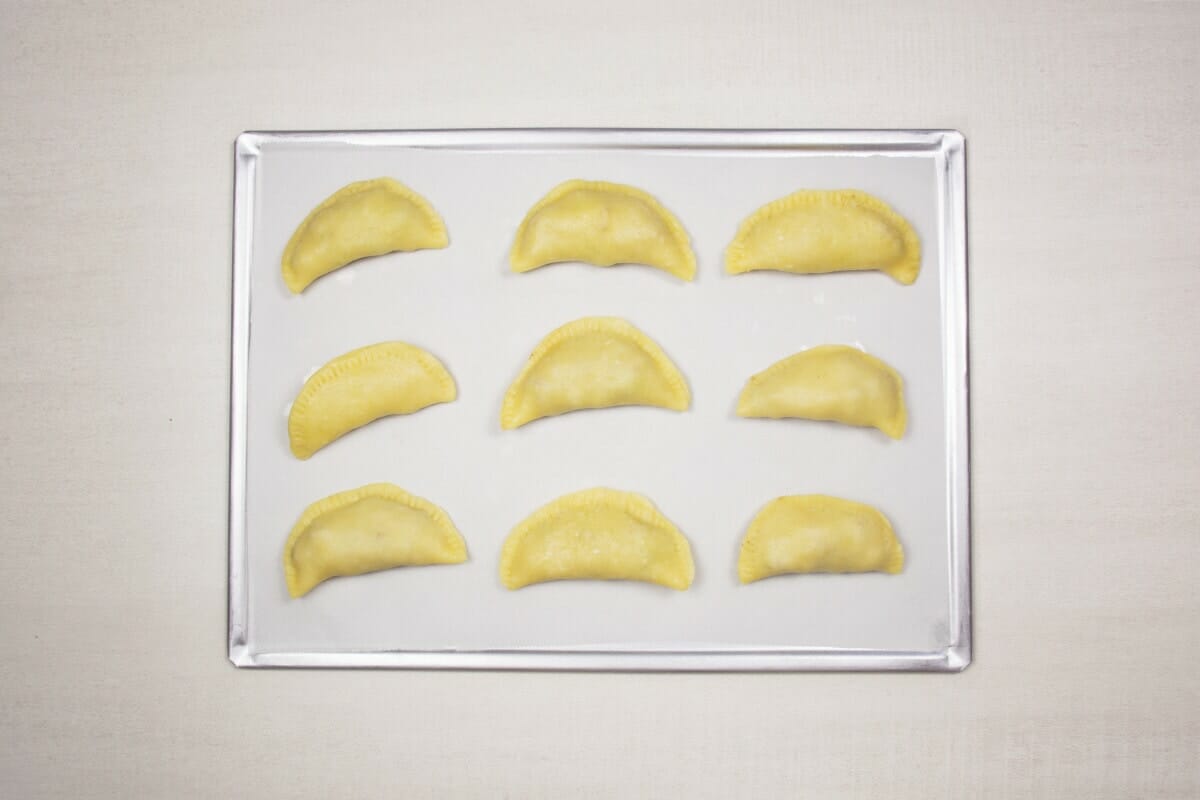
- Fold this in half, seal the edges using water or egg whites. Using a fork, stamp the tip of the dough opening with a little bit of pressure.

- Place the empanadas in a baking sheet lined with parchment paper. Cover and leave these in the fridge for 5 to 10 minutes. This helps make sure that the dough is fully sealed.
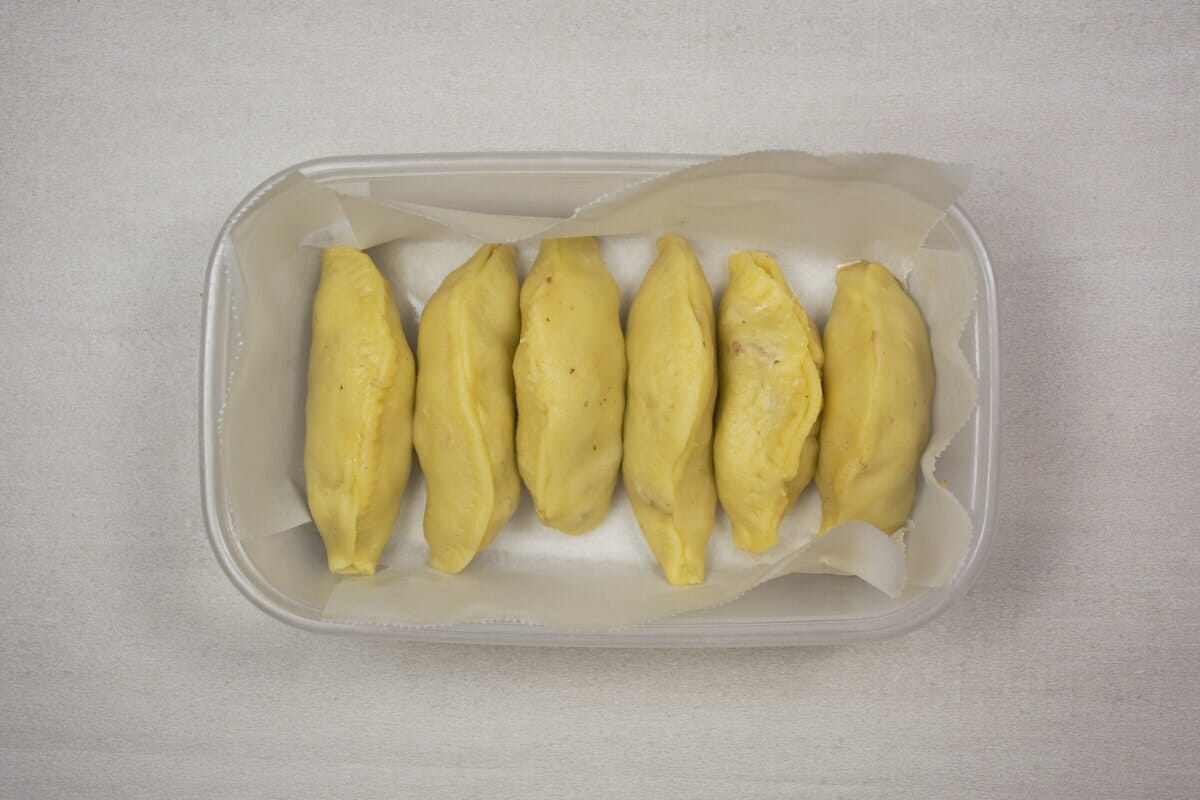
- To store the uncooked Empanadas, place these in an airtight container lined with parchment paper or use a Ziploc bag.
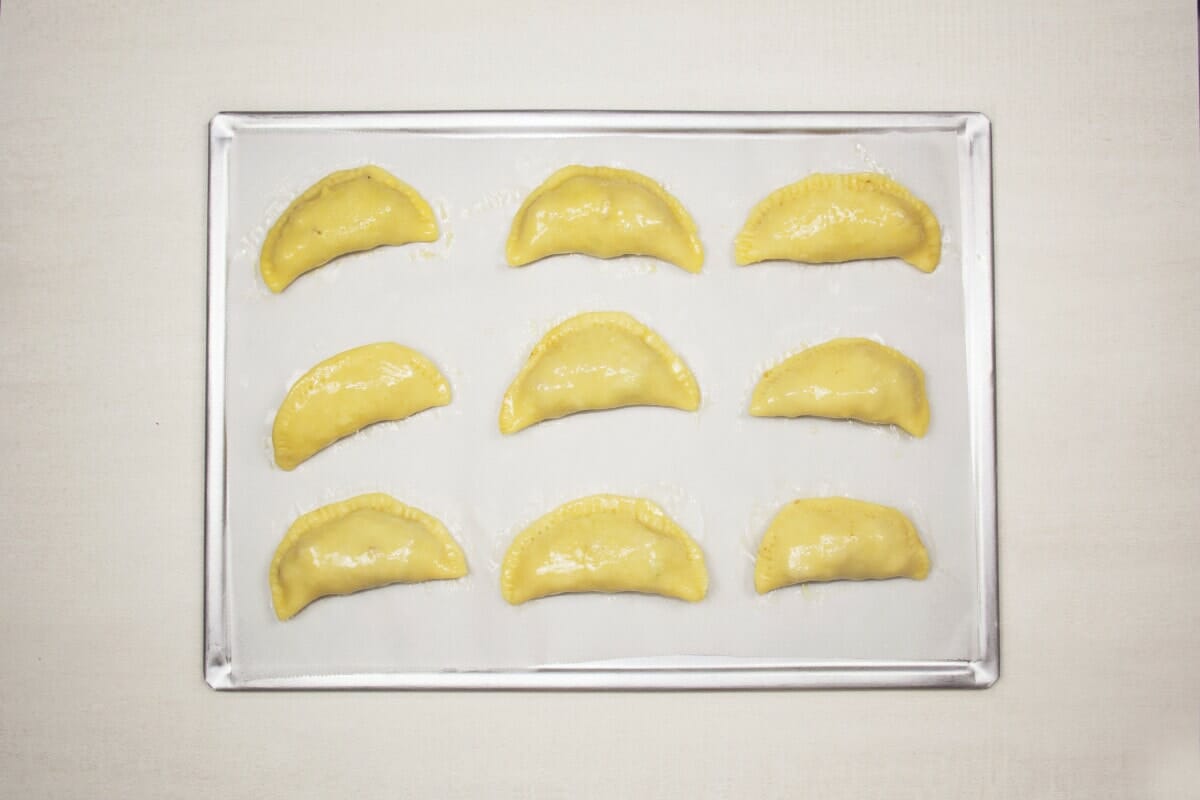
- To make the egg wash, mix an egg and a tablespoon of milk or water. Generously douse the empanadas with the egg.
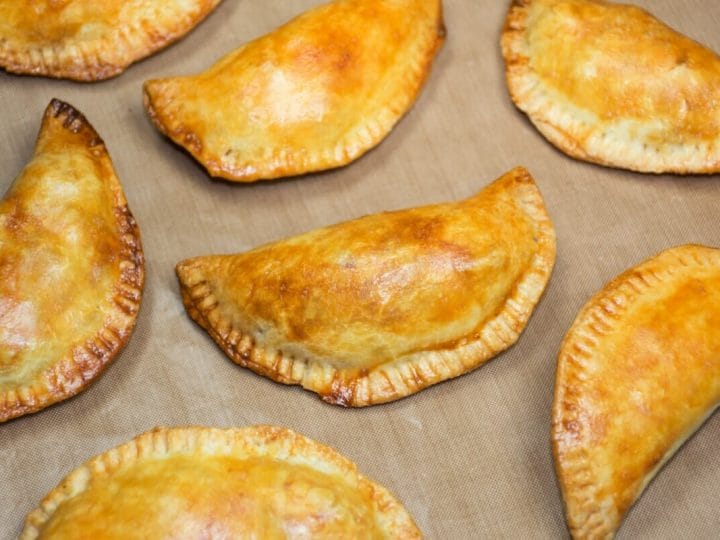
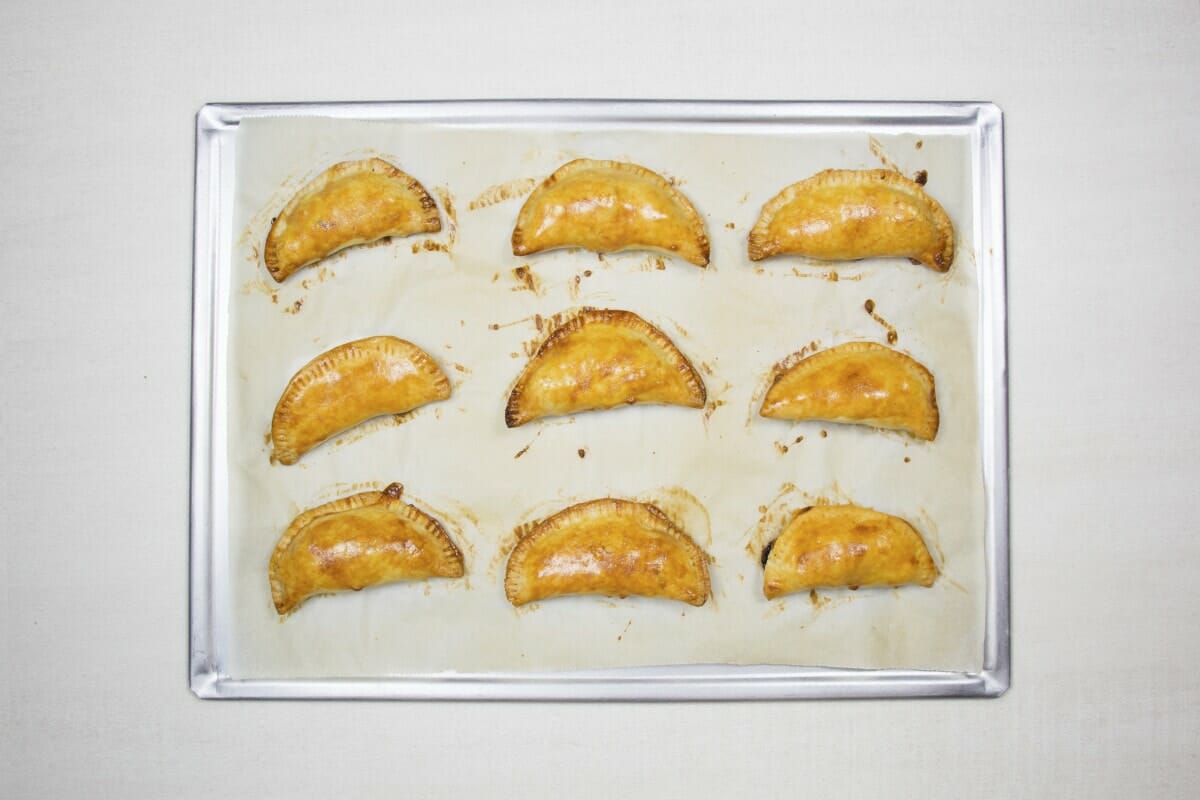
- Bake in a preheated oven at 180°C or 375°F for 18 to 25 minutes or until the crust turns golden.
Notes
- To get a more grounded filling use ground chicken or a food processor after Step 7.
- If the dough is too soft at Step 10, leave this in the fridge for 10 to 15 minutes.
- An Alternative to the Knorr cube and 1/2 cup of water, use 1/2 cup of chicken broth and ½ teaspoon of Salt.
- For a quick empanada, use premade pastry dough, add the filling, fold the dough, brush with egg, and bake according to its instructions.
- Chilling the empanadas while preheating the oven helps seal the dough fully.
- Extra chicken filling and uncooked empanadas can be stored in the chiller for 2 days to a week and in the freezer for 2 to 3 months.
- Frozen empanadas can be baked immediately without the need for thawing.
Nutrition Information:
Yield:
22Serving Size:
1Amount Per Serving: Calories: 235Total Fat: 12gSaturated Fat: 6gTrans Fat: 0gUnsaturated Fat: 5gCholesterol: 73mgSodium: 264mgCarbohydrates: 17gFiber: 1gSugar: 1gProtein: 15g
This information is automatically calculated by third party software and is meant as a guideline only. This website is written and produced for informational purposes only. Statements within this site have not been evaluated or approved by the Food and Drug Administration
The Chicken Empanadas I’ve eaten at “Goldilocks” in San Jose, CA was sweetened with raisins, I believe. How can I get that filling recipe since we no longer live in that state? Thank you.
Hi. I’ve seen recipes on Pinterest with raisins them. Take a look or just add them to this recipe
Just made these for the first time and they were pretty much a hit. I ended up cooking them in the air fryer because I was pressed for time. 4 minutes per side at 400F.
The only things I did different was add the chicken before the garlic. I wanted to add the liquid as soon as the garlic was done so it wouldn’t burn. I also pricked the top with the fork i used to seal them so steam could escape.
I had a small bowl of water that I used to dip my finger in for sealing the pastry and I also used it to dip the fork in so it wouldn’t stick.
Both my boys loved them and they don’t agree too often. Thank you for the recipe!
Glad you liked the recipe, Rain. Thanks for the comments